Mainstage Mondays: Using Backing Tracks
This week I received this email from a subscriber on my new youtube channel:
Hi Eric,
I'm planning on using it live with my band to play back tracks.
Basically what I want to figure out is how to navigate from song to song. i.e.. the band is performing a song (funky music) and the singer hints that the next song will be (Treasure - Bruno Mars) how do you make that transition fast and effective with out having audio drops. Like, is there a way to cue up the next track, do I have to wait for the current song to end.
What I thought would be easy is to have a list in alphabetical order and have a blank song (set) with each letter then have a midi note assigned to the letter A and B and C etc. and then use the arrow up / down to navigate to the desired song.
Any help would be great thanks.
- Domenico
Thanks for writing! Mainstage 3 offers some great options for audio playback during live sets, but it can take a bit of tweaking to get it to behave the way you want. Here are 8 tricks to using backing tracks in Mainstage 3:
1. You can drag and drop any AIFF, WAV, or mp3 file into the channel strip window, and it will instantly be inserted as an audio playback track. I’d recommend using AIFF or WAV, since mp3 files can sound a bit compressed.

2. Open up the Playback audio plugin (located in the channel strip), and select how quickly you want the backing audio to fade out. Every situation is different, but I find it works well to fade it at about 4-5 seconds.

3. You’ll also want to make sure your tracks start from the start, not from where you stopped them last time. Select “play from start”.

4. There’s no easy way to crossfade between two tracks right now in Mainstage, but there is a workaround. Go to the Layout view (command-1) and drag in a Button.

5. Go to the Edit view (command-2) and hit assign & map.

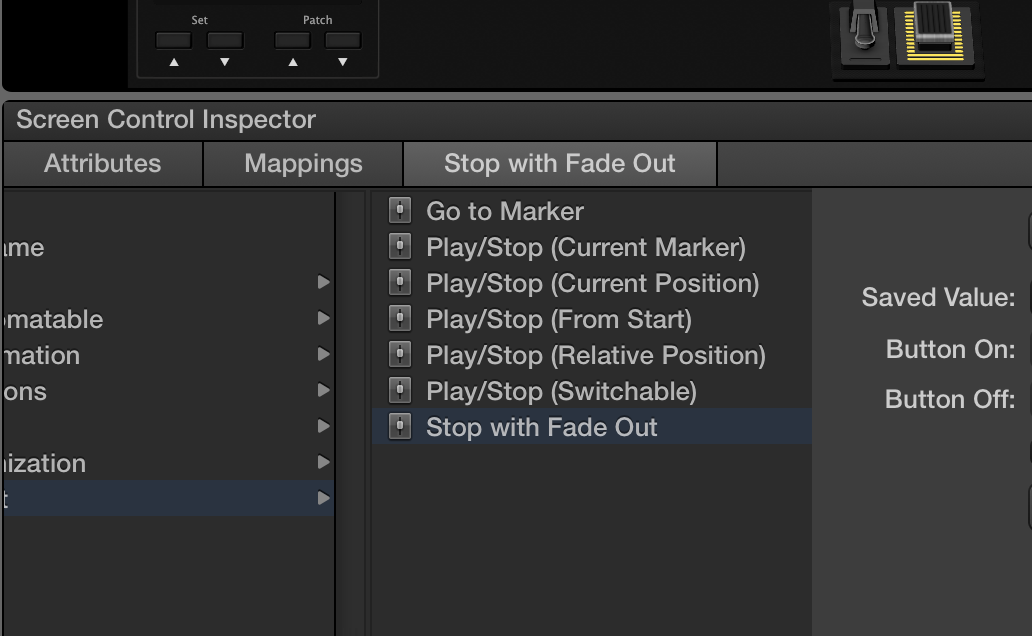
6. In the screen control inspector, map it to “stop with fade out”, under playback>playback>transport>stop with fade out. This will allow you to fade the playback track out in the time you set in step 2.
7. In the RH corner of the Playback plugin window, select “start on patch/set change”. This will automatically trigger the playback audio as soon as you select it as a patch.

8. Repeat this for every track that you want to have audio playback on.
To start playback automatically with a smooth fade from the previous audio, all you have to do is press the “fade out” button you created, wait for the audio to fade out, and then select your next patch. Good luck!
One thing to note: your previous audio tracks will automatically be silenced when you switch patches, so be sure to wait for your audio to fade before switching to the next preset.